
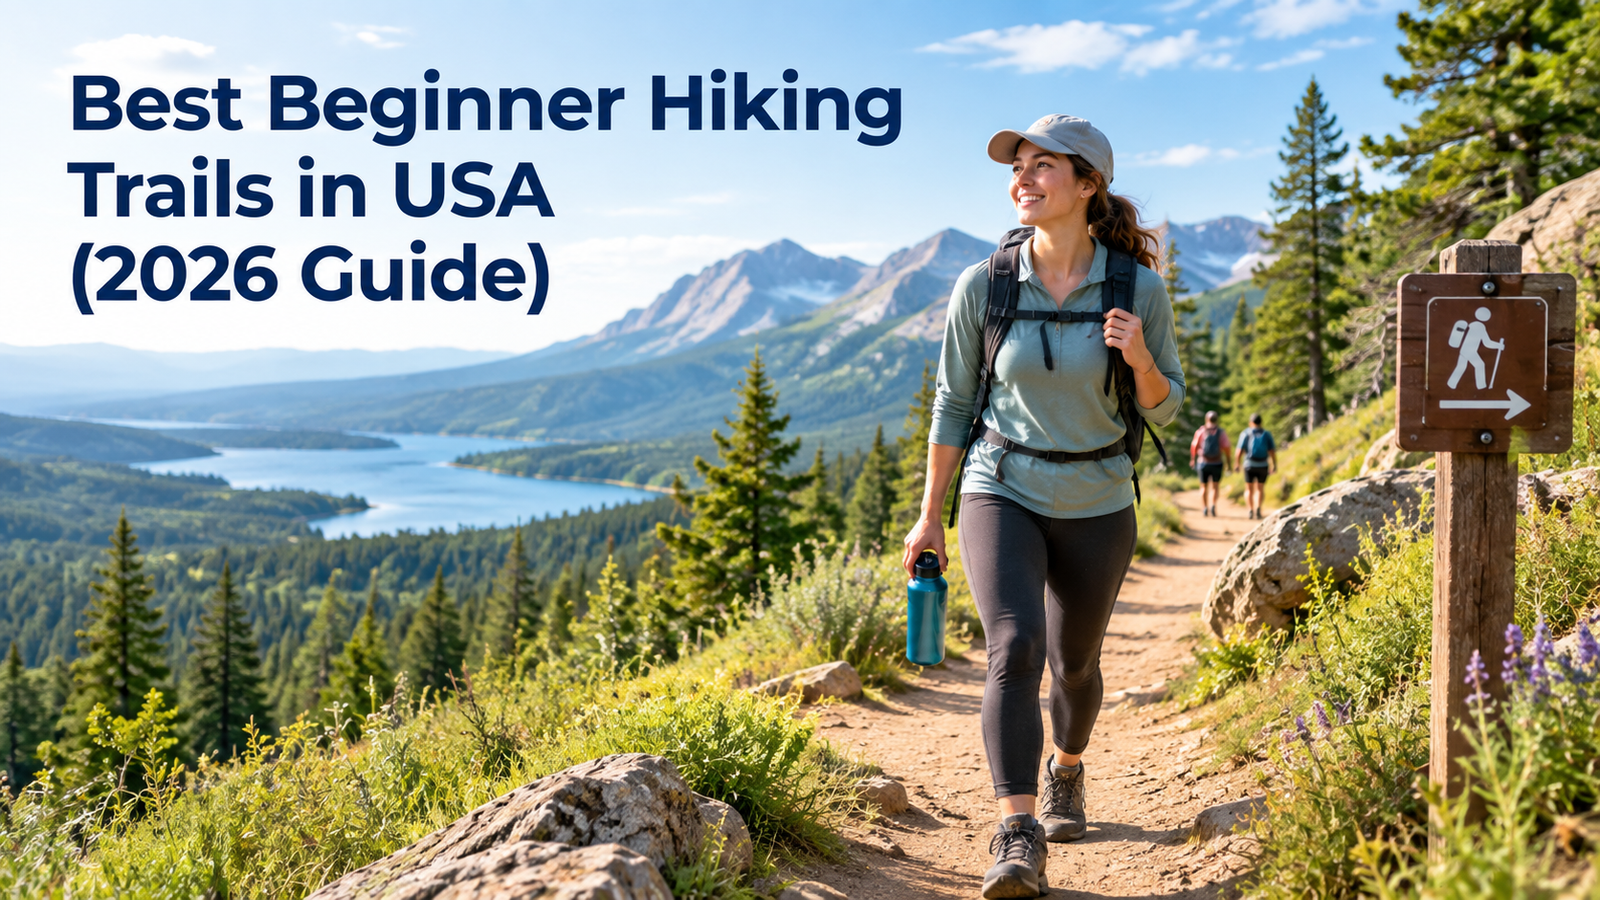
My first real hike was a disaster. Wrong shoes. No water. A trail with too much climbing. I didn’t check first. I turned around after a mile. Sat on a rock. Questioned every choice that got me there. Nobody tells you this part. The path is far more important than the equipment. Choose something that is too difficult and you’ll grow to loathe hiking before ever having given it a fair try. That is what occurred for me. Below, I have compiled the best beginner trails to hike in the USA. Actual trails that deserve to be called easy and not simply have the word slapped upon them. Short. Well marked. Still pretty enough that you’ll want to try a harder one after. What Actually Makes a Trail Easy Not every “easy” trail is easy. Some parks stamp that word on anything under five miles, climb or no climb, which honestly feels like cheating. A true beginner trail keeps the distance short. Keep the climb low. The path stays obvious, so you’re not stopping to check a map every few minutes. Parking matters more than people think, too. The lack of restroom facilities and having to walk far just to get to the trailhead makes a beautiful trail not so enjoyable after all. Lower Yosemite Fall Trail, California One mile. Flat. Mostly paved. It takes about half an hour if you’re not stopping for photos every few steps. You will stop, though. The waterfall drops right in front of you the whole way, and good luck walking past that without your phone out. This is one of the most popular beginner trails in the whole park system. It earns that spot. No real climbing at all. Walk toward the falls, take your pictures, and walk back. Dream Lake Trail, Colorado The Dream Lake hike in the Rocky Mountains is 2.1 miles long. The ascent is slightly greater than Yosemite Falls but nothing difficult. You’ll pass Nymph Lake first, then reach Dream Lake, sitting below Hallett Peak, looking exactly like the postcard version of a mountain lake. Altitude’s the real challenge here, not the trail.The initial stage will have an elevation above 9,000 feet. Give yourself a couple of days if you’re starting at sea level or close to it. Walk slowly. Drink extra water. Ledges Trail, Ohio Cuyahoga Valley National Park is not getting the same spotlight as Yosemite or Zion. Under-rated, no doubt about it. But the Ledges Trail still deserves some mention. A little over two miles long and takes you around sandstone ledges and forests, which Ohio does not normally get credit for. Nice choice when you want the beauty but don’t need elevation, crowded trails, or permits. Horseshoe Bend Trail, Arizona Short. About 1.5 miles round trip. The payoff is huge, though. You end up standing above a dramatic bend in the Colorado River. One of those views that looks fake in photos, until you’re actually standing there seeing it. Heads up, though. Barely any shade out here. Arizona heat does not mess around, ever. Morning or early afternoon is much better than mid-day in the summertime, and I mean much better. Zion Canyon Overlook Trail, Utah About one mile round trip. A little rock scrambling near the start trips up some first-timers. Nothing technical, just a short section where you use your hands a bit. After that it flattens out and gives you one of the better views in Zion for barely any effort. Zion’s famous trails, Angels Landing especially, are not beginner routes. No matter what your overly confident friend tells you. This one’s the real beginner option. It still shows you real Zion views. Discovery Park Loop Trail, Washington Seattle’s Discovery Park features a loop that is around 2.8 miles long. Forest, meadow, and cliffs above Puget Sound.Well kept, well marked, and close enough to the city you don’t need a whole trip planned around it. A Few Hiking Tips for Beginners Start earlier than you think you need to. Trails fill up fast. So do parking lots. Weather can turn quick in the afternoon, especially near mountains.Bring more water than feels necessary. People underestimate this constantly, then end up cutting a hike short because they ran dry an hour in. Check trail conditions before you go. Don’t just trust old blog posts, this one included. Conditions shift with the seasons. Trails close sometimes without much warning. The National Park Service trail pages stay current in a way most articles just can’t. Tell someone your plan. Where you’re going, when you’ll be back. It costs nothing. Matters a lot if something goes wrong. Respecting the Trail While You’re Out There Stick to the marked path, even when a shortcut looks tempting. It always looks tempting. Walking off the trail damages plants that take years to grow back, sometimes longer. The Leave No Trace principles from the National Park Service cover this well, worth a quick read before your first few hikes. Pack out what you bring in. Sounds obvious. Still needs saying, based on what shows up at trailheads after a busy weekend.Our beginner hiking gear guide covers exactly what to pack for your first few trips; if you want the full list beyond this. Where to Go From Here Do a couple of these. Moving up gets a lot less scary. You’ll know your pace. You’ll know what gear actually matters. Not just what the store wants to sell you. You’ll know how your body handles climbing and distance. That’s really the whole point of starting easy. No rush to jump into anything hard. Plenty of people hike easy trails for years. They never feel the need to chase something tougher. That’s a perfectly fine way to do this too, whatever anyone else says about it. For more picks by state and difficulty, browse the full list on TripVault Guide, updated as conditions and rules change through the year. FAQ What are the best beginner hiking trails in the USA? Some

Best Luxury Travel Destinations on a Budget
I used to assume five stars meant expensive, full stop, the way some people assume a good steak has to cost forty dollars. Then a friend sent me a hotel listing in Cape Town, a proper waterfront place with a mountain view, for less than what I’d paid for a mid-range room in Chicago the month before. That’s when the math finally clicked for me. The price tag on luxury travel has almost nothing to do with the actual luxury and almost everything to do with which country’s rent, wages, and currency you happen to be paying into. Once you know that, the best luxury travel destinations on a budget stop looking like some insider secret and start looking like basic arithmetic. The Part Nobody Bothers Explaining Every one of these “affordable luxury” lists names a bunch of cities and moves on without saying why they’re cheap. So here’s why. A hotel’s nightly rate is mostly a reflection of what it costs to run the hotel, staff wages, property taxes, insurance, whatever the local market will bear, plus how the currency is doing against the dollar that day. New York rent is New York rent no matter how nice the lobby is, so the room rate has to cover it. The hotel in a nation where operation costs are lower and whose currency is less strong is actually catering to far fewer people, despite the marble floors and the same employee-customer ratio. To be very frank, it did take me more time to understand this than it should have. I always thought that when there was cheap luxury, there would always be a catch of some sort or the other.Mostly it just means a different country’s economy underneath the same standard of hotel. Cape Town, Which Is Sort of Having a Moment Cape Town is constantly being rated the most affordable luxury destination in the world, and each time I take a look at the statistics, they continue to stand firm. A five-star hotel situated conveniently near the V&A Waterfront is going for about $200 per night right now. On the other hand, in New York, a similar place can cost twice that, or even three times! Dinner at a genuinely good restaurant costs under 25 dollars. A full spa day is around 50. It’s exactly this kind of math that puts Cape Town near the top of any list of best luxury travel destinations on a budget. I keep coming back to the wine country twenty minutes outside the city too. It gets compared to Napa constantly, and the comparison holds up on quality, just not on price, which is sort of the whole appeal in one sentence. Bangkok Rewards Timing More Than Anything Bangkok has been part of those lists for many years now, and it continues to hold that position. It is common for five-star hotels in Bangkok to cost less than 150 dollars per night, and people booking at the right time get something near that figure. The fine dining holds up too, at prices that would be embarrassing back home for the same quality. What throws people off is how much the season matters here.Whereas a room renting out at 200 dollars in November will fall to 100 dollars in July, timing of the visit accounts for about as much as choosing which city to go to. Istanbul Is a Currency Story More Than a City Story Istanbul works differently than Cape Town or Bangkok. The lira has weakened a lot against the dollar over the past several years, which has been genuinely hard on people living there, and it’s the exact reason a hotel room that would cost 300 or 400 dollars in a comparable European city routinely comes in under 150 in Istanbul. Same five-star standard. The difference is almost entirely the exchange rate doing the heavy lifting instead of the local cost of living. A Shorter List of Backups Worth Knowing About Lisbon has crept up in price over the last decade, worth saying since people still talk about it like it’s a secret, but it still beats most of Western Europe on cost while giving you the same cobblestone charm people pay Barcelona rates for. Tokyo surprises almost everyone, because Japan has a reputation for being pricey across the board, yet five-star hotels there have been coming in more reasonably than that reputation suggests, and an excellent sushi dinner rarely tops 25 dollars. Mexico City works well for anyone who doesn’t want a long flight, especially around Polanco and Roma Norte, where the hotel quality is boutique level for well under what a comparable US city would charge. Between these three and the main picks above, there’s a solid working list of the best luxury travel destinations on a budget no matter which region you’d rather fly to. Booking Timing Matters As Much As City Choice A three to four month advance booking normally results in getting the most favorable rate. Last minute deals are offered now and then, but relying on last minute deals is risky rather than being an effective strategy. The shoulder period, which falls between peak months and off peak months, provides favorable weather and prices. Check current country conditions through the U.S. Department of State’s travel resources before locking anything in, since pricing is only one part of the planning. It’s also worth glancing at exchange rate data from the Federal Reserve before you book, because a currency having a good year for dollar travelers doesn’t guarantee it stays that way through your travel dates. Vacation rentals can stretch the savings further in most of these cities, especially for groups or longer stays. A villa in Cape Town or a boutique apartment in Mexico City can end up costing close to a mid-range hotel room elsewhere, plus you get a kitchen out of the deal, which matters more than people expect once you’re a week into a trip and tired of restaurant food. Our budget
Best Carry-On Items for Flights: What Actually Earns a Spot
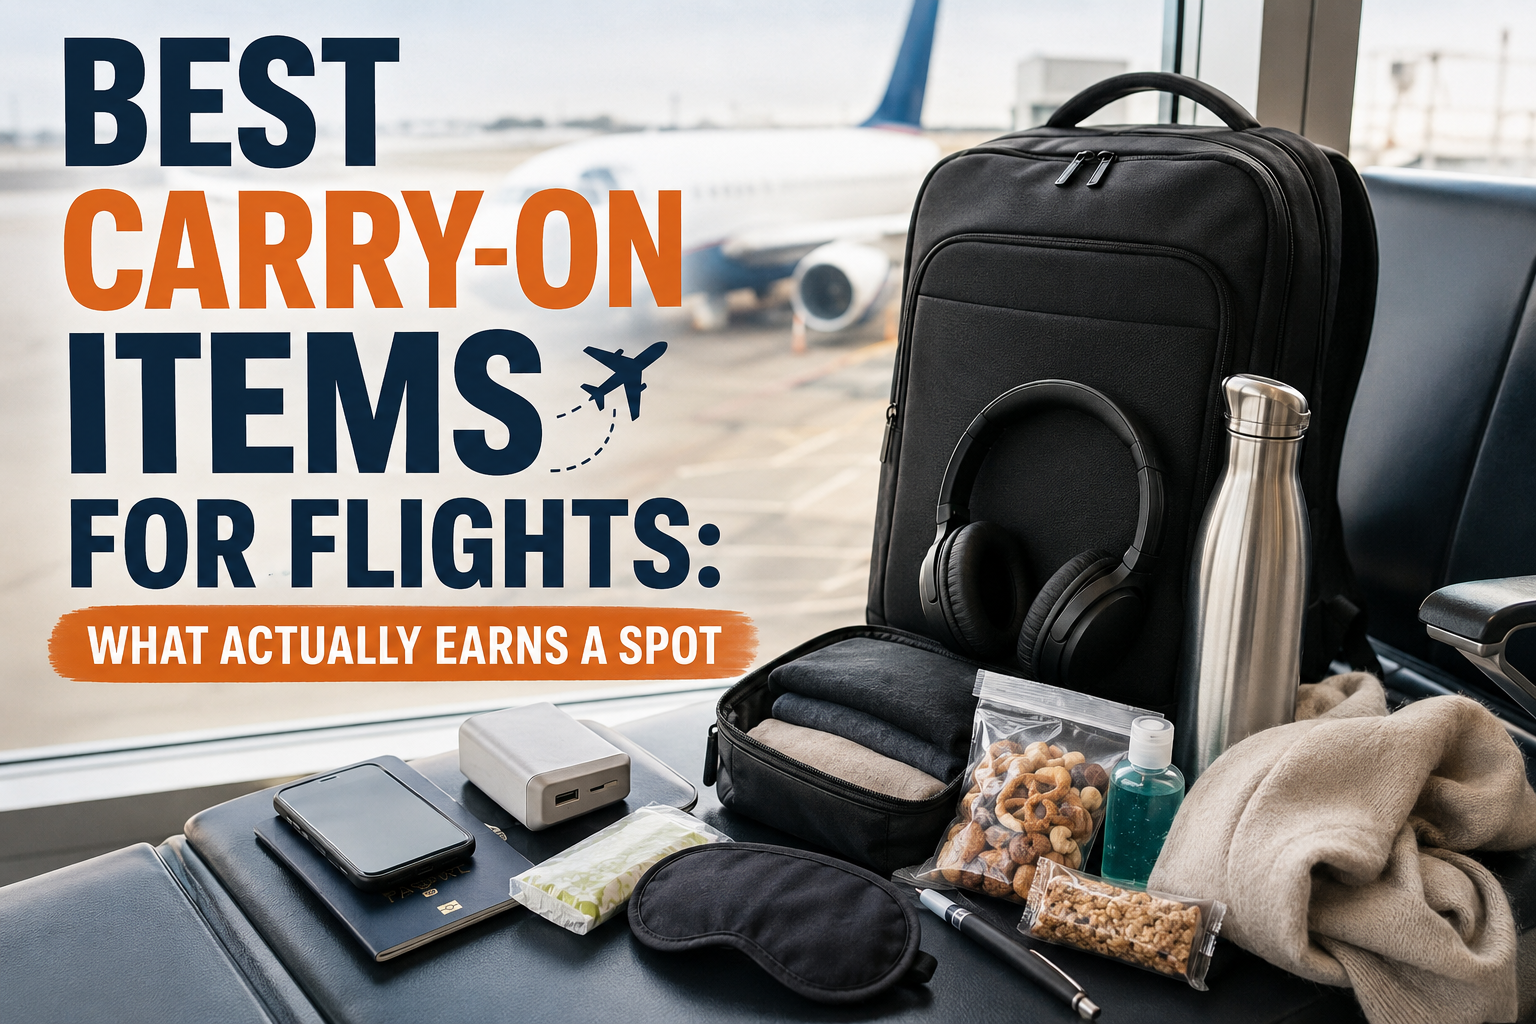
I used to pack my carry-on bag the same way every time. Badly. Late at night. I just threw in whatever I saw first. After many flights, I made a much shorter list. It’s built from things I wished I had on past trips. That’s the best way to find the best carry-on items for flights. It’s not about what looks good on a list. It’s about what you really need in seat 24C, two hours before landing, with a headache coming on. This is not a “pack everything” list. It’s more like a “this stuff proved itself” list. That makes it shorter. It also makes it more useful. Start With a Bag That Actually Fits First, get the right bag.Many people come up with an excellent packing list for their carry-on luggage. However, they end up trying to fit everything in a bag that barely zips.Look for a bag with a laptop pocket. Look for outside pockets you can reach fast. Make sure the bag size matches what your airline allows. Airlines don’t all use the same size rules.Even the same airline may have different policies for each particular flight. Make sure that you visit your airline’s website before packing for your flight so that there are no unpleasant surprises at the gate. You may also visit the TSA’s website that contains information regarding the allowable items to carry on board. The Items People Actually Use Noise-Cancelling Headphones This one item changes a flight more than almost anything else. A crying baby. Loud engine noise. Someone’s movie is leaking out of cheap earbuds nearby. Good headphones make all of that quieter. You don’t need the most expensive pair. You just need one that blocks engine sound well and charges fast. Packing Cubes These are small fabric boxes for your clothes. They are not just for comfort.They are among the best items to put inside your carry-on luggage. Just reaching for a single cube is easier than rummaging around a hodgepodge of clothes. This helps a lot at security or during a fast layover. A Portable Charger Airport outlets are hard to find. Some gates don’t have any at all. A dead phone right when you need your boarding pass is stressful. A small charger that can fully charge your phone once is worth the extra weight every time. An Empty Water Bottle Bring it empty through security.After that, refill it at a water fountain. Water bottles in the airport are very expensive. From a practical viewpoint, it is good to stay hydrated in order to feel comfortable upon arrival. It is important to drink enough water during long flights (three hours and more). A Light Layer Planes get very cold at times. The flight crew may not provide blankets because the flights are short or inexpensive. A packable sweater or a scarf as a blanket solves this problem. Snacks You Actually Like Airport food costs a lot. Airline snacks are often small or missing completely. Bring something you actually enjoy eating. This makes a long flight feel a lot less miserable. A Book or Downloaded Shows Not every plane has seatback screens anymore. WiFi is often slow or costs money. Download a show or a few podcasts before you board. Or just bring a real paperback book. That way, you’re not stuck staring at the seat pocket for hours if the screen doesn’t work. Travel Essentials for Flights People Forget Some small travel essentials for flights don’t make most lists. But you’ll want them once you’re actually flying. Bring tissues, since plane air is dry and someone nearby is always sniffling. Bring hand sanitizer, since many hands touch that tray table before yours does. Bring lip balm and a small lotion, since cabin air dries out skin fast on long flights. Bring a pen too. This sounds strange, but customs forms on international flights still need one. Flight attendants don’t always have extras. Flight Comfort Items Worth the Weight When you do have some space left, there are some items you should consider bringing on your flight when you travel for extended periods of time. You need to buy a small pillow which folds flat and does not take up half of your luggage. You need to wear compression socks for any flight that lasts longer than five or six hours.Pack an eye mask too. This helps a lot on flights that cross several time zones, when the cabin lights don’t match your body’s clock. What You Can Leave at Home Not everything on a packing list photo is worth the space. Avoid carrying full-sized toiletries as the travel-sized products are equally effective and lightweight. Avoid packing a spare pair of shoes unless there is any genuine need for it.Skip heavy paperback books when your phone or tablet can hold many books at once. A carry-on bag isn’t meant to prepare you for everything. It’s meant to keep you comfortable during the actual hours you’ll spend on that plane. If you’re planning a longer trip, check out our guide on what to pack for a two-week trip. It covers checked bag packing in more detail. Our airport layover survival guide is also helpful. It covers what to do during a long wait between flights, which can change what you decide to carry on. See the list of permissible items that can be taken through security from the FAA guidelines on carry-ons if you have any special stuff to travel with, such as camera batteries or a CPAP machine. The Real Test The best way to build your own list is simple. Pay attention to your next flight. Notice what you actually use. Notice what stays zipped up the whole time. After two or three flights, you’ll know what really belongs in your bag. That’s the real difference between a bag that just holds stuff and a bag that makes your flight easier. FAQS How many carry-on items should I actually pack for a flight? Way less than you
How to Plan a Successful, Enjoyable Road Trip (Full Checklist)
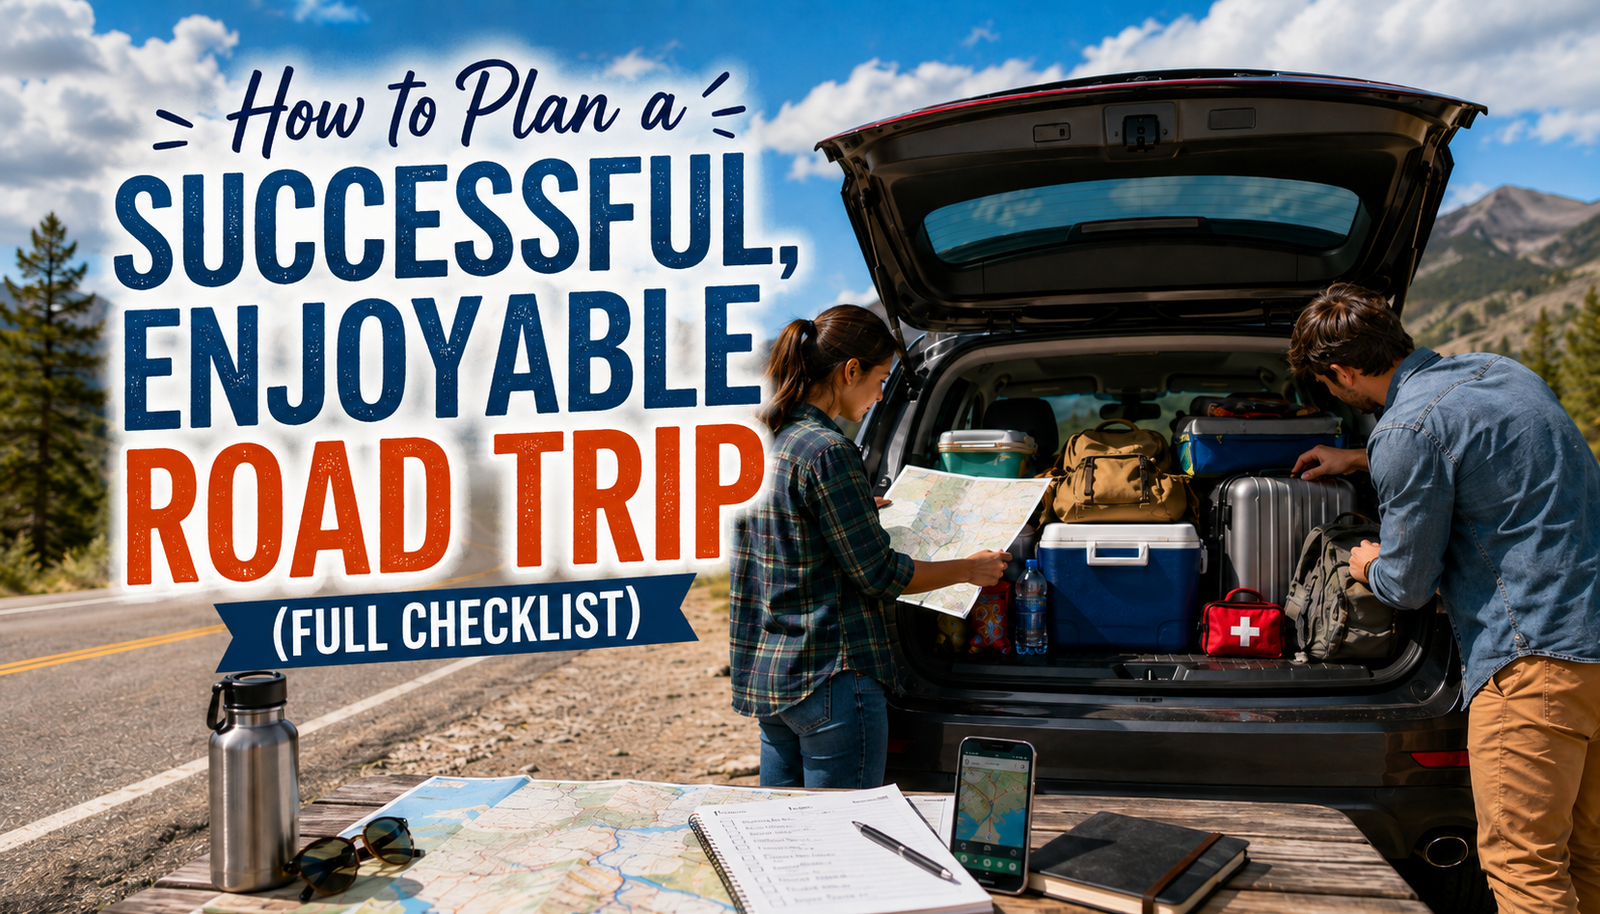
If I may be brutally honest, my first road trip experience was more of a disaster than anything else, because of excess clothing, inadequate food supplies, and I never even checked my tires.Somewhere past Flagstaff I trusted a gas station map over my own phone and lost an hour going the wrong way. And it’s still one of my favorite trips I’ve ever taken, which tells you something. Probably that a little prep saves you from the dumb stuff, not the memorable stuff. So when people ask about how to plan a successful enjoyable road trip tips checklist, that’s really what I mean by it. Not a script for every hour of your day. Just enough groundwork that you’re not losing a whole afternoon to something you could’ve fixed in your driveway. Figure out where you’re going before you figure out what to pack. Packing is the fun part; I get why people start there. Route planning feels like homework. But it’s the route that determines everything: how long you will be traveling, how much money you will spend on gasoline, and whether you will be heading toward the pretty sunset or into the traffic jam of some other city. First choose your essential stops.Grand Canyon, your cousin’s porch in Nashville, whatever it is for you. Drop pins in Google Maps or Roadtrippers and build the rest of the trip around those. And resist the urge to cram in every single spot you’ve bookmarked off some travel blog somewhere, mine included. I’ve made that mistake. You end up seeing most of the trip through a windshield at 60 miles an hour instead of actually being anywhere. Three stops you genuinely enjoyed will always beat ten you just checked off. Keep your driving days to four, maybe six hours if you can help it. I say this because I didn’t, once, on a Colorado-to-Utah stretch that should’ve been split across two days. Didn’t want to “waste” money on a motel. Pushed through in one go. Nobody in that car was having a good time by hour seven, myself included. The budget conversation nobody enjoys having Gas, food, hotel costs, toll fees, and even that one roadside gift shop you will end up stopping at no matter what because you said you weren’t going to.A two-week trip for two people in the US usually falls somewhere between $1,500 and $3,000, and where you land in that range mostly comes down to how often you eat out. A few things worth actually sitting down and calculating: your car’s miles per gallon times your total mileage times the average gas price along the route gets you a decent gas estimate. For lodging, mixing cheap motels with a couple of nicer stays keeps you from being completely wiped out by day five, because sleeping badly for a week straight will ruin a trip faster than almost anything on this list. And don’t just budget for restaurants. Groceries and a cooler add up to real savings over two weeks, more than people expect. That kind of road trip budget tip thinking is the difference between a trip that feels easy and one where you’re checking your bank balance at every gas station. TripVaultGuide breaks the numbers down further if you want more detail than I’m giving here. Deal with the car before anything else. Everyone skips this part, and it’s the one that bites people hardest. Tire pressure, tread, oil, other fluids, headlights, and brake lights—check all of it. If an oil change is overdue, get it done now, not after you’re stuck on the shoulder somewhere in Nebraska wondering why you put it off for three weeks. The National Highway Traffic Safety Administration also says to check your battery, belts, and hoses, which wear out faster than people assume once the summer heat kicks in. Twenty minutes in your own driveway beats a very bad afternoon on the interstate. What actually earns a spot in the trunk A decent road trip packing list isn’t about filling every inch of trunk space just because you can. It’s the stuff you’ll actually reach for. Weather-appropriate clothes, obviously. A phone charger long enough to reach the back seat, which sounds like a nothing detail until you’re sitting at 4% battery somewhere with no signal. A first aid kit. Snacks that survive heat instead of turning into a melted mess by noon. Bring an actual cooler even if you’re planning to eat out most nights. Cold water and some fruit on a July drive through Texas have bailed me out more than once.There will be a little garbage bag in the car from the very beginning and not on day four when you realize that you have been rummaging around trying to find wrappers from under the seats. Are you traveling with kids or a dog? Make sure that you pack enough entertainment. The tablet had something interesting to watch, some toys and a water dish. Little things but they make a big difference in the way the ride in the car feels. The apps worth keeping on your phone You really don’t need twenty travel apps taking up space. Google Maps or Waze for the actual driving, GasBuddy when you’re hunting for cheaper gas, and iOverlander or The day trip if camping is part of the plan. That covers almost everything most people need. This is because these apps work towards solving an issue rather than providing just fancy content for your phone. What people fail to realize till the last moment – download your map offline before heading anywhere that will lack connectivity, especially when you head towards the western part of the country where no connectivity means an hour of silence. For when the plan falls apart anyway Even a good plan hits a wall somewhere. Paper map as backup, in case your phone dies at the worst possible moment. The roadside assistance number is saved somewhere you’ll actually find fast, not three contacts deep

What to Pack for a Day Hike (Without Overpacking)
One summer day last year in Sedona, Arizona, I observed an individual trying to go hiking in flip-flops. He carried a single bottle of water and was not wearing any head covering although the temperature was at 95 degrees. After merely 20 minutes, the man had turned around, appearing hot and bothered, and had run out of water. That basically sums up the entire idea behind writing this guide. So what to pack for a day hike? You don’t need a gear closet. You don’t need the $300 backpack either, tempting as the ads make it look. Get a handful of basics right, and a good morning on the trail stays good. The Short Version: Your Day Hike Packing List Short on time? Copy this and go. That’s the core of any hiking essentials list, more or less. Everything below is the “why” and the “how much.” Water and Food: How Much Is Actually Enough Water first, because it matters most. One liter per two hours is the baseline in mild weather. Hot day? Steep trail? Bring more. It is an understatement to say that people forget to do this constantly and running 3 miles without water is a very unpleasant afternoon. When it comes to food, it’s fuel, not a picnic table. Trail mix. Jerky. A peanut butter sandwich flattened in your bag. Two granola bars. Does not have to be an exciting event. Bring a little extra along as well: If you twist your ankle or the path is longer than the map indicates, that extra bar becomes much more important than at the trailhead The Ten Essentials (Yes, Even on a Short Trail) Search and rescue crews didn’t dream up the “ten essentials” for fun. It’s a list compiled over the years from hikers who have found themselves in a predicament after something went wrong. The National Park Service’s Ten Essentials guide it under the following categories: navigation, sun protection, insulation, light, first aid, fire, repair tools, food, water and emergency shelter. It doesn’t have to be fancy. A paper map plus a downloaded trail app covers navigation. A drugstore first aid kit handles small injuries fine. A five-dollar headlamp solves the “what if it gets dark” problem before it becomes a problem. You’re not building a gear collection here—you’re just making sure a bad hour doesn’t turn into a bad night. What to Wear on a Day Hike Skip cotton. Full stop. It gets soaked with sweat, remains damp, and is miserable to wear: cold when it’s cold outside and sweaty when it’s hot. Wear moisture-wicking clothes, such as a synthetic or wool base layer, fleece for warm, and raincoat when there’s even a possibility of rain. The shoes are far more important than one might think. Flat, dry trail? You probably don’t need heavy boots. Rocky or uneven ground? You want real tread and ankle support. Pair whatever you choose with wool or synthetic socks—a few miles of walking in cotton socks is a blister factory, no question. Hat and sunglasses too, don’t skip those. Sunburn and glare will wear you down faster than the actual hiking does. Choosing the Right Daypack 10 to 20 liters covers most day hikes.I have an old 18L one that is 6 years old and still working for me. It should contain your water, food, layers and odds and ends without making you feel like you’re carrying a suitcase up a mountain. More than 2 hours? Look for a hip belt. It shifts weight off your shoulders and onto your hips, and that difference is real by mile four. No refill stops on your route? Size up a bit so you can carry more water without cramming the pack. Day Hike Checklist by Season Summer: additional water, electrolyte packets, sun protection, shirt that allows airflow, bug spray if water or trees are present. Winter: insulated layers, hand warmers, some spikes for traction if it’s icy and a headlamp, as the daylight fades quickly this time of year. Spring and Fall: Pack for both. The weather is 20 degrees different from the trailhead to the top of the mountain and a light rain jacket is well worth its ½ pound of pack weight. No matter the season, make your day hike list based on the weather conditions for the day’s hike, not the weather forecast for your hometown. Weather rules the mountains and the canyons. Common Mistakes First-Time Hikers Make But most importantly, prepare for the hike you plan to take and not the hike you think you are about to take. You are sure it’s going to be clear when you start your hike at 8 am and so leave your rain jacket back at home. And since it’s “only a three-mile loop,” the extra snacks are superfluous. I’ve done the same mistake myself and have ended up two hours later hungry on a five-mile, not three-mile, hike.Second error: getting too late in the day. Know the time of your sunset before leaving home and leave with a buffer time to get to the car with light still in your eyes. Looking for a detailed breakdown per trip? Our day hike packing list delves further depending on trail length and terrain. Final Thoughts Don’t overthink your day hike packing list. Water. Food. A way to navigate. A method of keeping warm and dry. A method of dealing with a minor wound. That’s pretty much anything a normal trail can throw at you. Construct it once, pack it in your daypack and you’re ready again the next time the trail calls. See our complete what to bring on a hike guide for lists of items for specific national parks and regions. FAQ How much water for a day hike? A liter every two hours is the rough baseline, more if it’s hot or the trail’s steep. No refill spot along the way? Bring extra. I’ve cut a hike short over this exact mistake, and it’s not worth repeating. Does